VanSpoof v1.0
There's probably some nasty edge-case bugs to iron out, so it's maybe not 100% complete, but I'm happy to announce a combined v1.0 release of my VanSpoof hardware and firmware!
All the source files are available under Free, Libre and Open licences from my repo on Codeberg, here .
The board design and layout is released under the terms of the CERN Open Hardware Licence Version 2 - Strongly Reciprocal and the firmware is free software under the terms of the GNU General Public License version 3 or later .
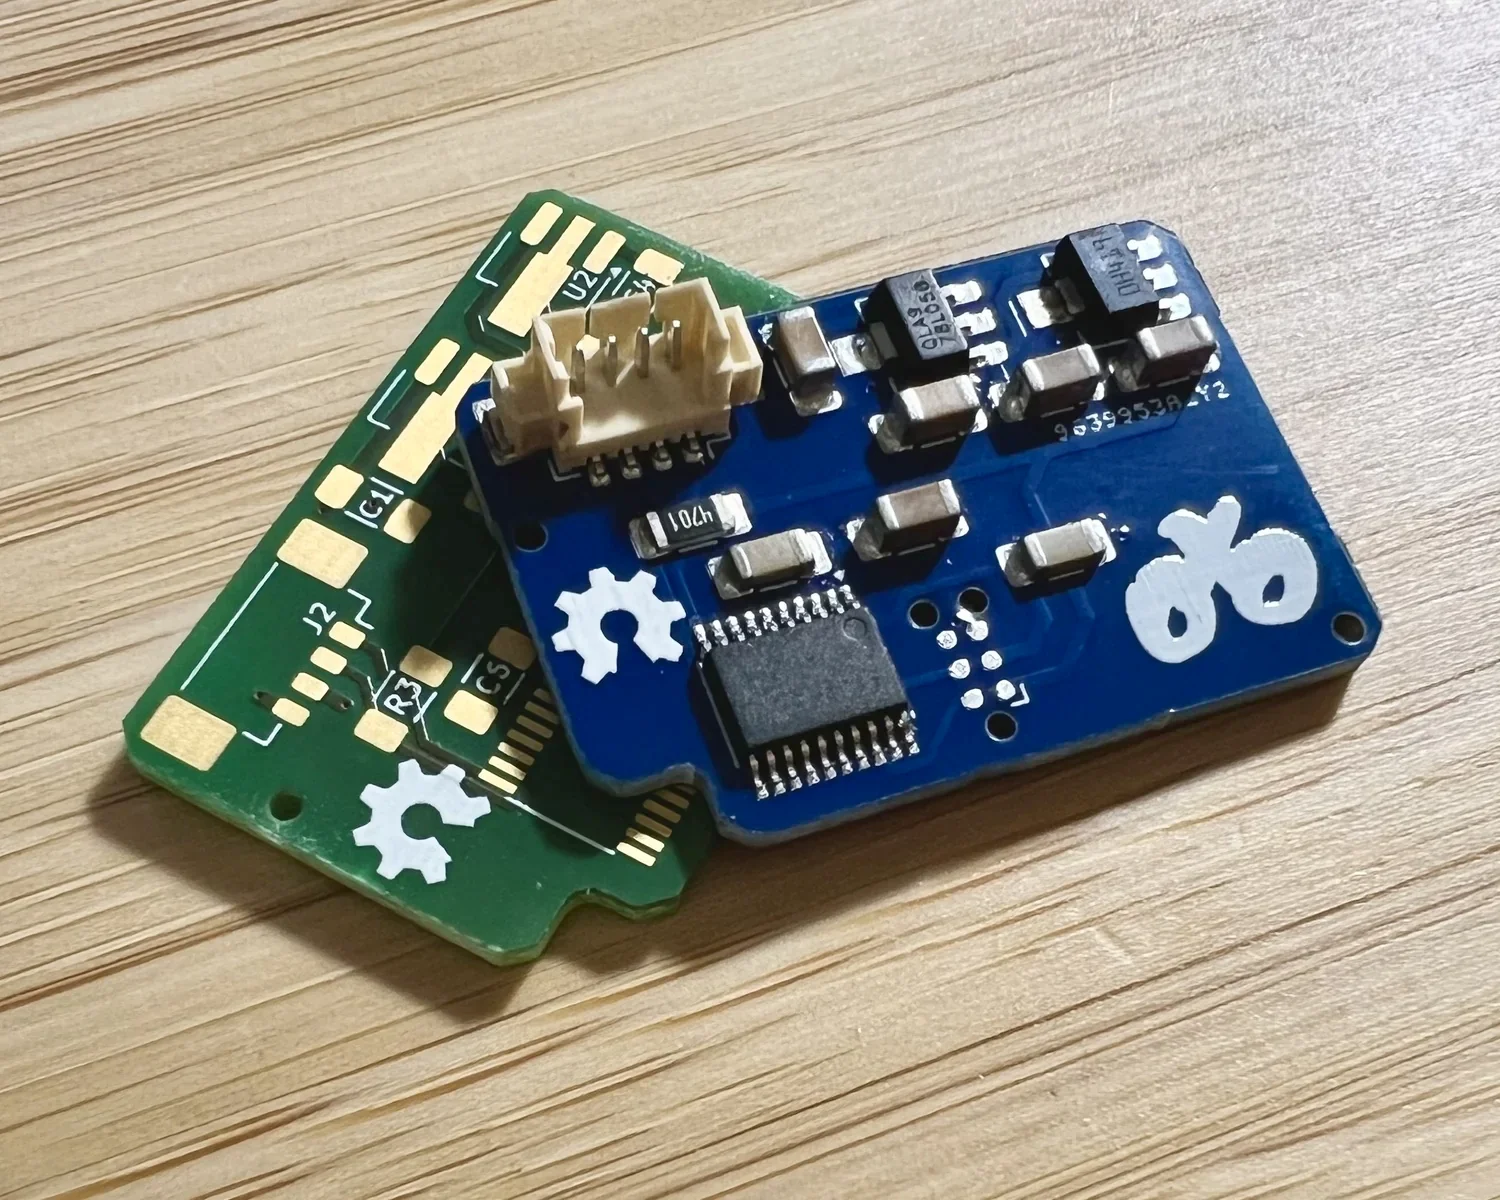
The green PCBs, as featured in my last post , are Beautiful Boards manufactured by AISLER and these blue boards were built by JLC using their PCBA service .
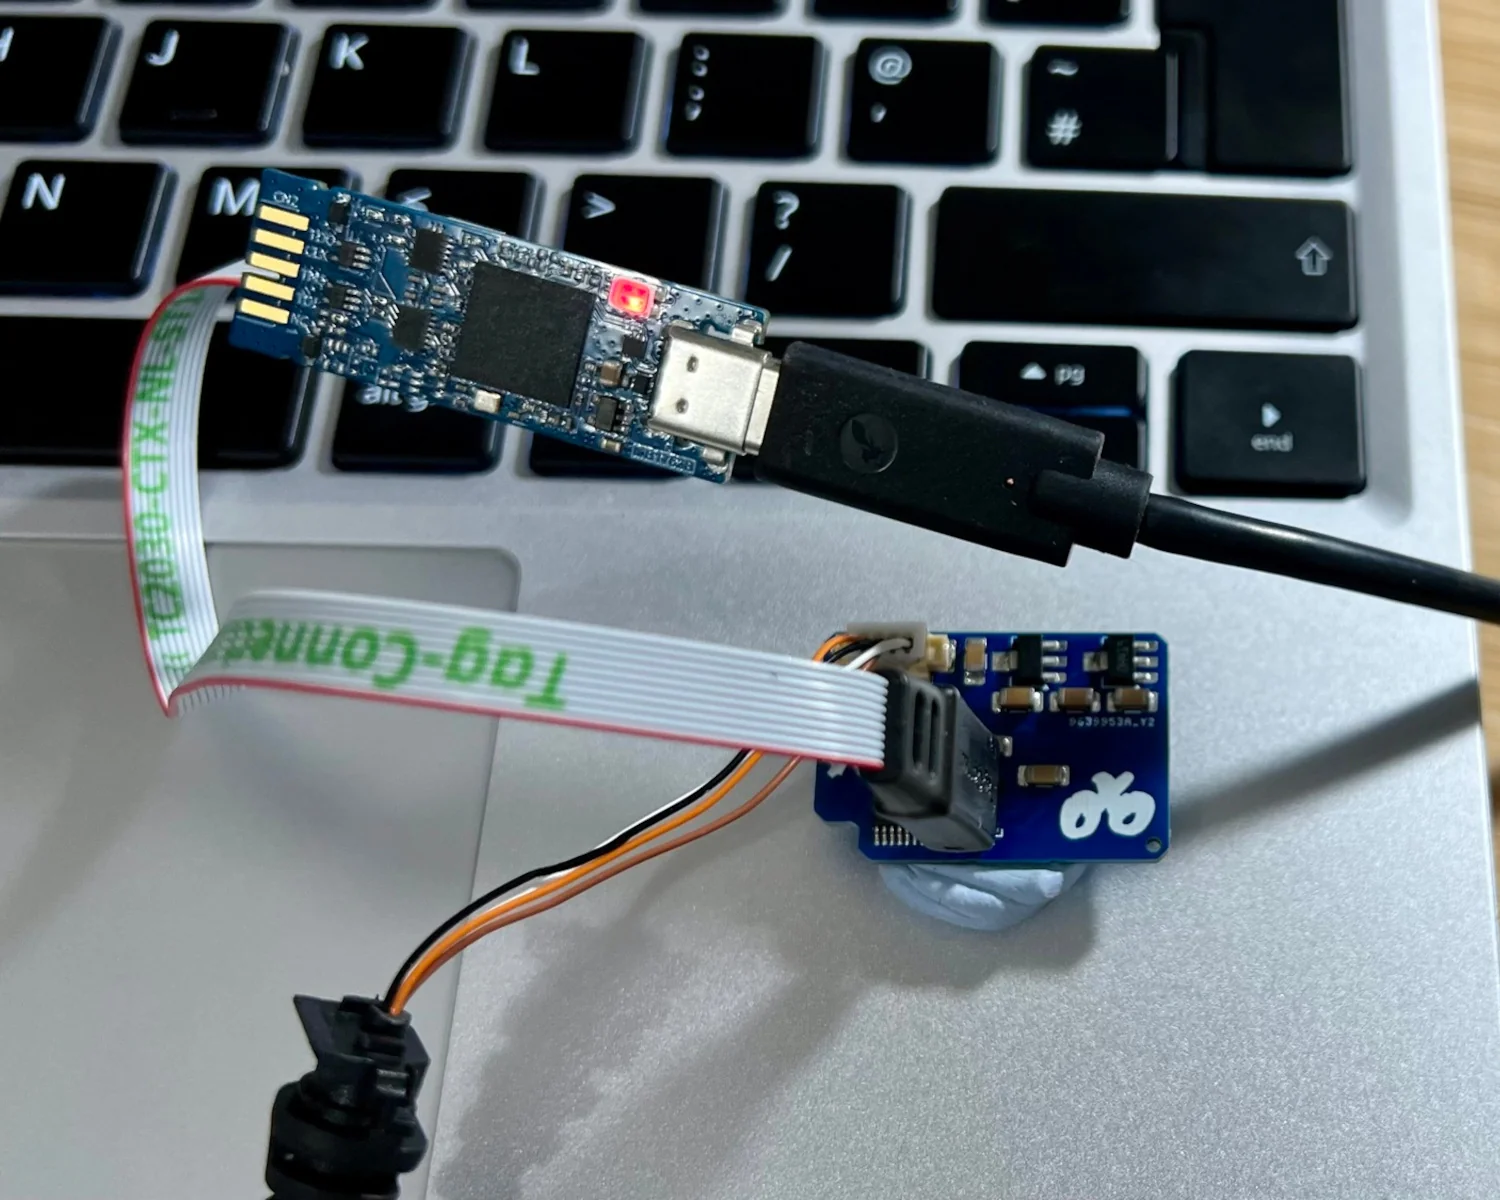
The new PCBs use TagConnect TC2030 footprints to save board space and remove the height of the programming headers from the final assembly. The STM32 on the board can be programmed using a TC2030-CTX-NL-STDC14 connected to an STLINK-V3MINIE .
probe-rs
supports the
ST-Link V3
out-of-the-box so, as long as you've followed either
their instructions
or
my earlier blog post
on ensuring your
udev
rules are set up correctly, you'll be fine.
I've
configured
cargo
to use
probe-rs
as its runner
, so
cargo run
is all you need in order to flash the firmware on to the microcontroller.
Our logger library,
defmt
supports
multiple logging levels
, so choose how verbose you want the firmware to be with the appropriate environment variable.

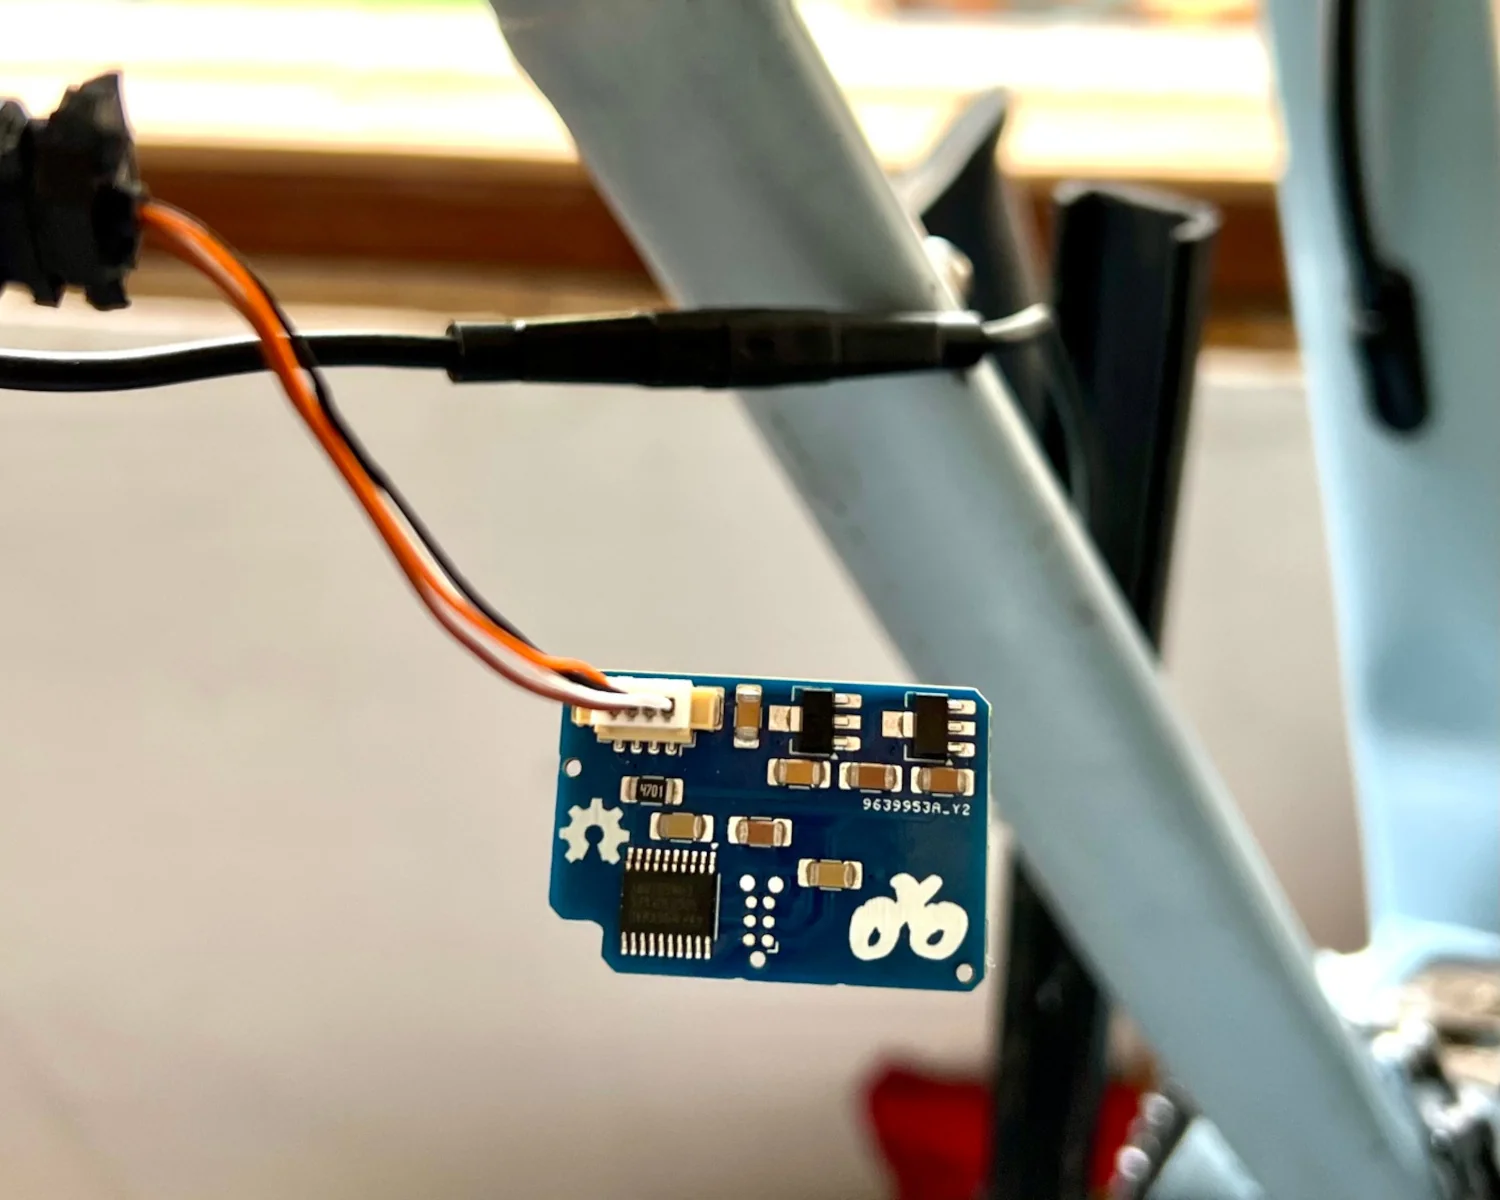
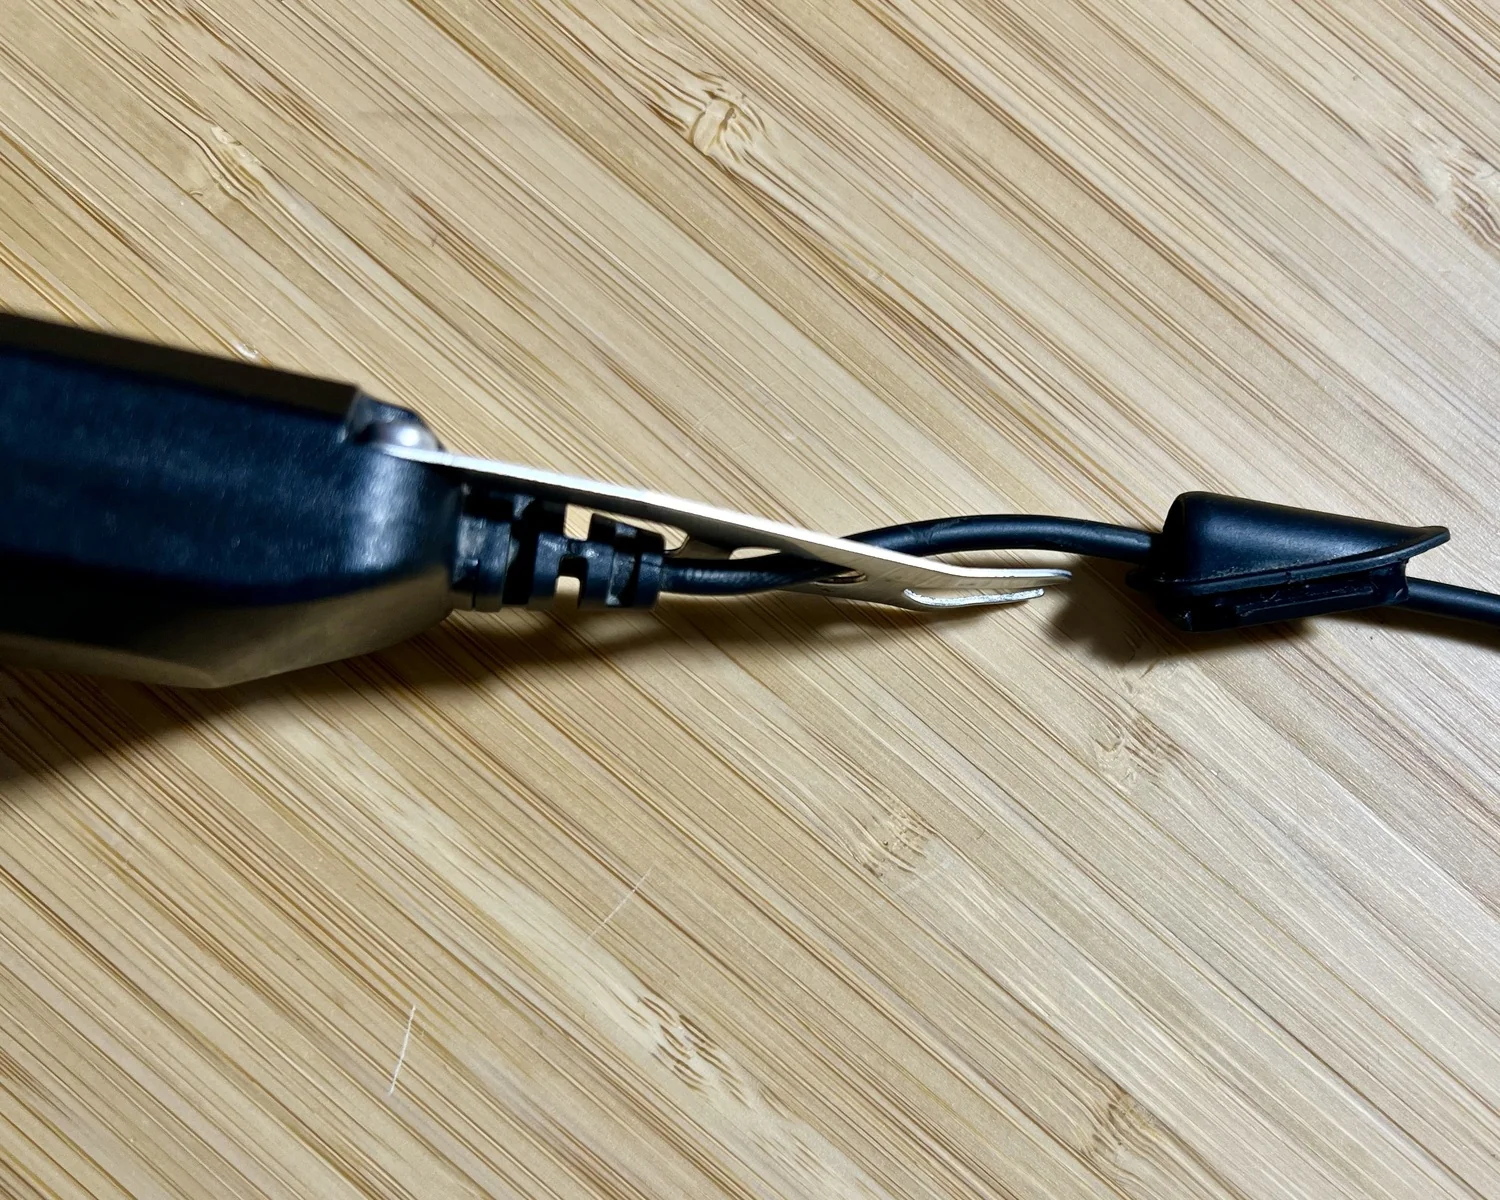
With the board programmed, it's just a matter of "borrowing" the cable from an old e-shifter, connecting it to the bike, powering everything up and crossing our fingers.
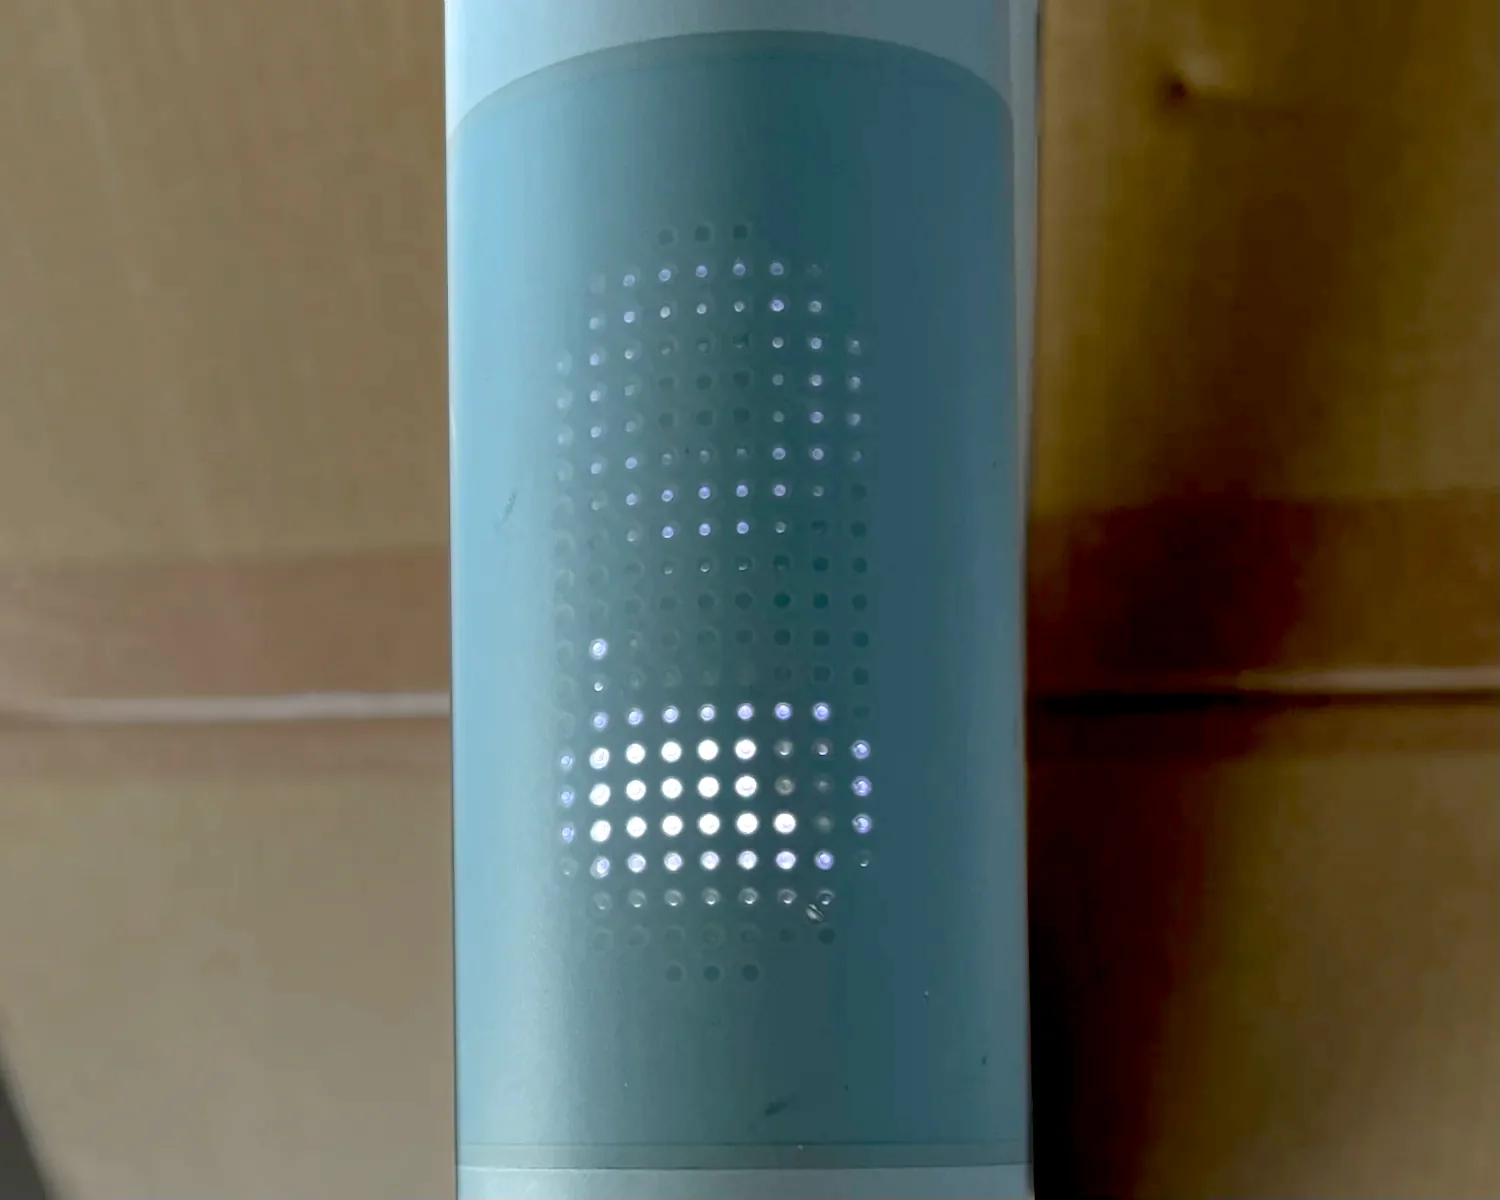
On 12th April 2025 at 14:30 my VanMoof X3 started up, without an e-shifter connected, and did not show an Error 44 status! That thick, faint, circle is where "44 Err" would appear if the bike thought it's e-shifter was missing or damaged. Instead, we're seeing its happy, "everything's fine", pulse. The bike thinks it's connected to a working, functional, e-shifter!
All that's left is to install the VanSpoof inside the e-shifter's body, fit it to the bike and go for a ride. The VanSpoof can be installed in the old motor's space with some double-sided sticky foam tape, and another piece can be applied to the front of the board to hold the wires in place.

The e-shifter's body can then be reassembled and reinstalled on the bike's wheel. The routing and snaking of the cable through the shifter and into the bike needs a little attention to make sure it's not trapped or crushed, but it's not complicated.
Happy pedalling!
2025-04-17